

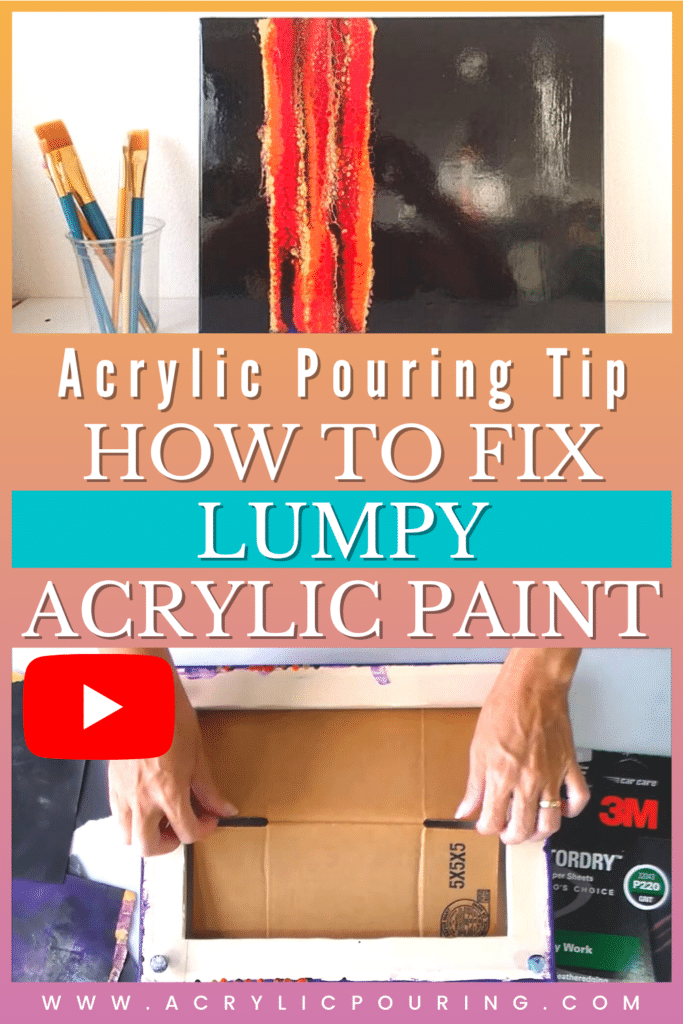
How To Fix My Acrylic Painting On Cavas It Has Small Bubblez
Lumpy pigment. Nothing about that phrase exactly screams "ideal medium", does it?
Lumpy paint is annoying and tin feel like a real piece ruiner; but you can completely avoid lumps and ready them if they've appeared in your painting. Don't throw out that canvas just even so!
What causes lumps in acrylic pour paintings?
Lumps can present themselves in different ways, but are most noticeable when a piece has dried. The most common causes of lumpy paint are bad paint, incomplete mixing, or lumpy medium.
Bad Pigment
We could write a whole article on how to identify bad pigment…actually, we take! You lot tin read all virtually bad paint right on our blog.
Paint really does go bad; information technology may not have a printed expiration on it similar food does, but that doesn't mean it has an infinite shelf life. The longevity of your paint depends on the brand, what's in it and how it'southward stored, which means some of the factors that cause paint to get bad are out of your control.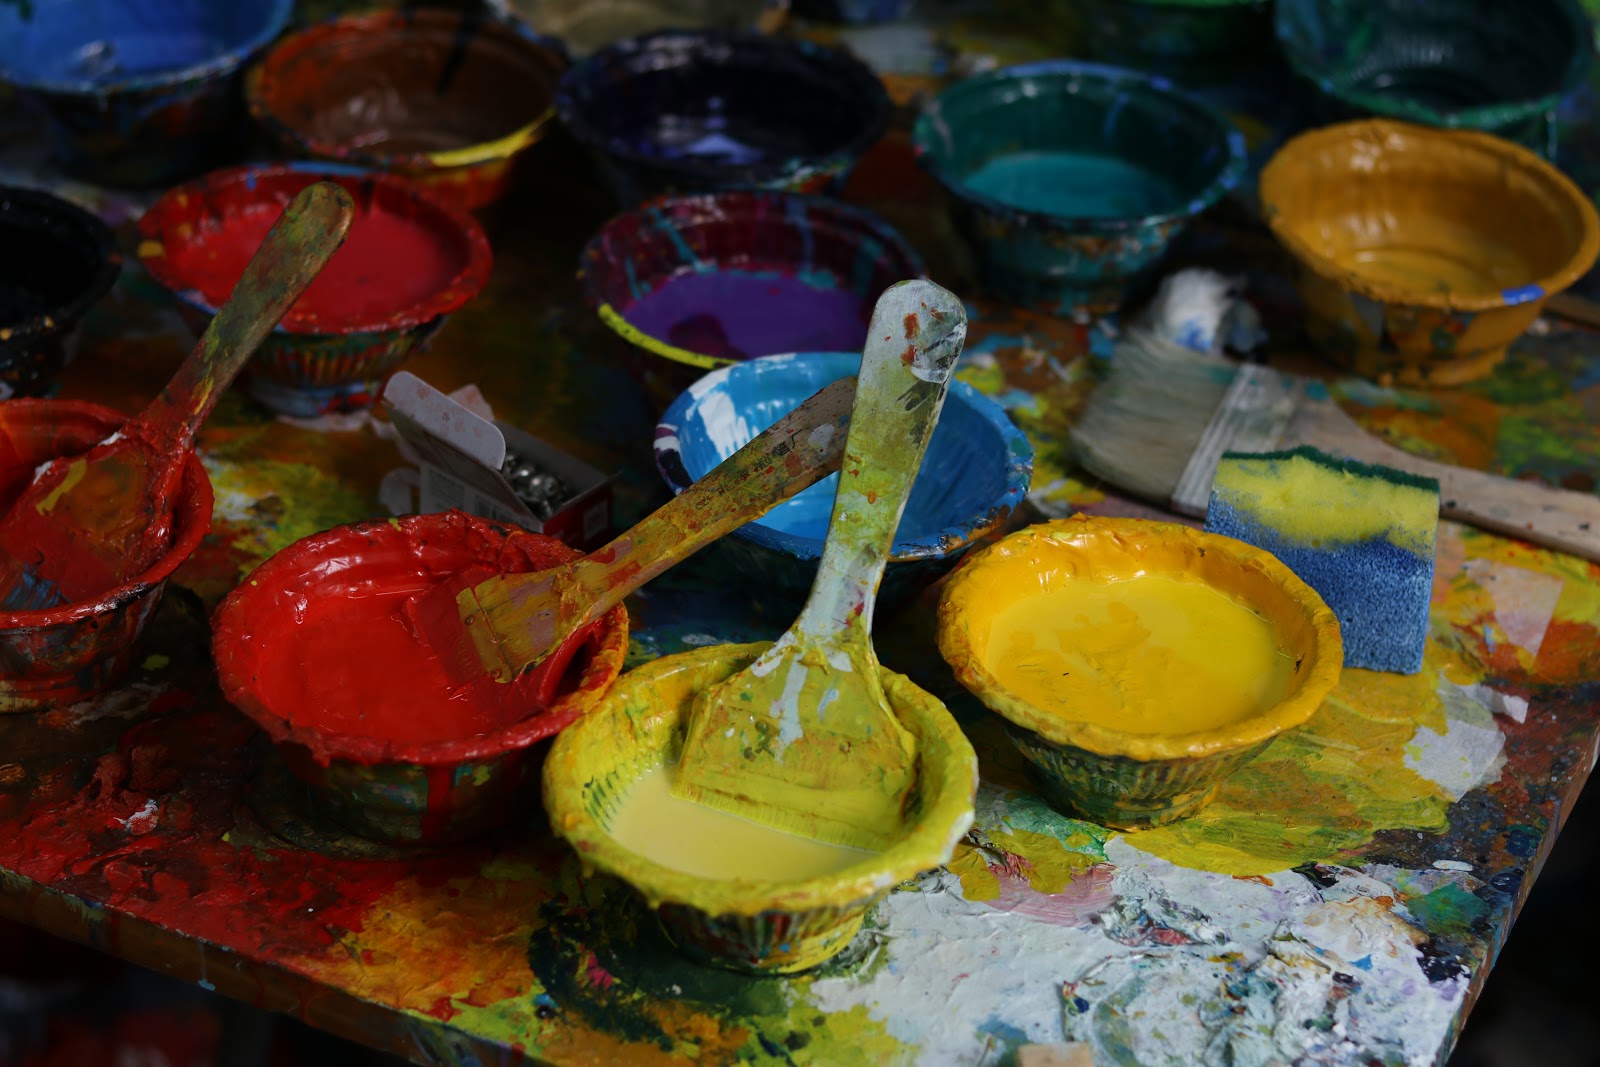
Withal, if you lot accept paint that's separated and won't incorporate again by shaking vigorously, or if you open up your paint and you smell a strong, bad smell, that is a factor y'all can control – don't use information technology! Lumpiness is just one of the issues yous'll have in a painting if you apply expired paint.
Bad paint doesn't always mean expired pigment though; it can besides mean low quality pigment. If you purchase very inexpensive paint, you may stop up with lumps due to the ingredients and candy used to keep the price down. The best way to avert this is to do research online before y'all buy pigment to encounter if other artists take used information technology, and if they take, what their experience has been.
Incomplete Mixing
Mixing pigment is a tedious process. It takes time and a lot of arm stamina to brand sure your paint is well mixed, just it's completely worth it; if you lot have pockets of unmixed paint, you lot're likely to find lumps in your finished product.

You should take, at the very to the lowest degree, 5 minutes to mix each colour yous're using. Mediums like Floetrol and Liquitex Pouring Medium are white, and stand out in any color that isn't white, so you can easily see if yous have some unmixed areas. In white, this is a little more than difficult, so we suggest erring on the side of caution and mixing a bit longer to make sure everything is combined properly.
Some artists similar to pre-mix their paint and use it as needed; this is a great thought! If yous choose to go this road, you tin use additive bottles for mixing and storing. You'll desire to store the paint mixture just as you would any other pigment; completely sealed, and not in directly sunlight or farthermost temperatures. You can even add your silicone to your paint mixture in accelerate!
Lumpy Medium
Floetrol is one of the well-nigh popular pouring mediums on the market place, and for practiced reason; it works! Nevertheless, Floetrol is also notorious for having lumps and clumps and some sort of stringy "things" in it, especially if it'south sat for as well long.
Nigh mediums will tell you to shake vigorously before you lot use them…they really aren't kidding. Like pigment, mediums practise carve up over time and that can cause lumps in the medium. Milk shake the canteen similar the success of your painting depends on it…considering it just might!

You should also strain your mediums This isn't really limited only to Floetrol, either; you tin can strain any of your mediums to remove lumps. All you need is a large cup or canteen and a fine mesh paint strainer (sold at local pigment supply or hardware stores, or Lowe's). Information technology takes fourth dimension to strain the medium, and yous'll definitely want to strain the medium further in accelerate. Nevertheless, information technology's absolutely worth it to practise this, since y'all can avert a lot of lumps this way.
Make certain yous milkshake your medium very well earlier straining!
How to Fix Lumps in a Freshly Poured Painting
Now, permit'south say that you followed all of these directions, just you've nevertheless got lumps in your poured paint; that'southward ok!
If your painting is nonetheless wet, apply a clean stirring stick to gently remove the clump of pigment from the canvas. This may disrupt the pigment effectually the dodder, simply at least your surface will exist level.
If the lump is definitely just pigment, and not the stringy clumps caused by defective or old medium, you can likewise apply a clean stirring stick to gently break the clump apart and flatten it out.
If the clump is caused by defective or old medium, you tin employ a clean stirring stick or sometimes a pair of tweezers to lift the stringy clump out of the paint.
If at that place are merely way also many lumps in your painting for y'all to be able to fix information technology, you tin besides scrape your painting if it'south still wet. Yous tin do this with a bench scraper, spatula, or any other straight edge utensil you have. You don't take to scrape the entire painting either; if you notice that only half of the piece has been affected, you lot could scrape half and quickly mix up another batch of paint to pour, if yous catch all of this within about x minutes fourth dimension.
If y'all must scrape the unabridged piece, the canvas isn't lost! Wait for about a week for the canvas to fully dry out after having had paint on information technology, and and then yous can use information technology to pour a new piece.
How to Fix Lumps in a Cured Painting
Fixing lumps in a cured painting can exist a bit more than difficult, but over again, non incommunicable.
If yous're planning on sealing your slice with a thin sealant like Polycrylic, having a bumpy surface probably isn't ideal. In this instance, you tin can sand down the acrylic bumps until they're apartment with the rest of the painting; you lot will need to bear on up the bumps with pigment or an embellishment similar gold leaf.
If you lot program on sealing with a flood glaze of resin, you don't necessarily need to flatten out the bumps – you can seal over them. A flood of coat of resin is thick, and will even out the surface of your piece. Unless your bumps are very high, 1 inundation coat should be plenty to hide any bumps on the surface.
Conclusion
Lumps and bumps in acrylic pours are avoidable, but fixable as well! If you lot don't catch them when yous start pour your painting, there are ways to fix them afterward…don't throw out that canvas! We know that seeing a bumpy texture can be extremely frustrating, merely the slice isn't a full loss.
Think; if the painting is nonetheless wet, and you accept a lot of bumps, yous can use a demote scraper or other straight-edge tool to scrape the wet paint off of the surface so y'all tin employ it for another projection.
If the painting is dry, and y'all have a lot of bumps, you tin utilise sand newspaper to sand down the bumps and use actress paint or embellishments like gold foliage to touch them upwardly.
If the painting is wet and there are just a few picayune lumps, carefully pull them out with a clean stirring stick or if it's stringy medium, you lot can utilize a pair of tweezers.
In that location's ever a solution to fix a misbehaving painting; don't surrender! And, if you have questions, make sure to bring together our Facebook Grouping where you'll observe almost 100k other artists who tin can give you real-time communication. Cheque out ane creative person's experience with lumpy pigment below!
Fixing a Loved, Lumpy Painting with Deby Coles
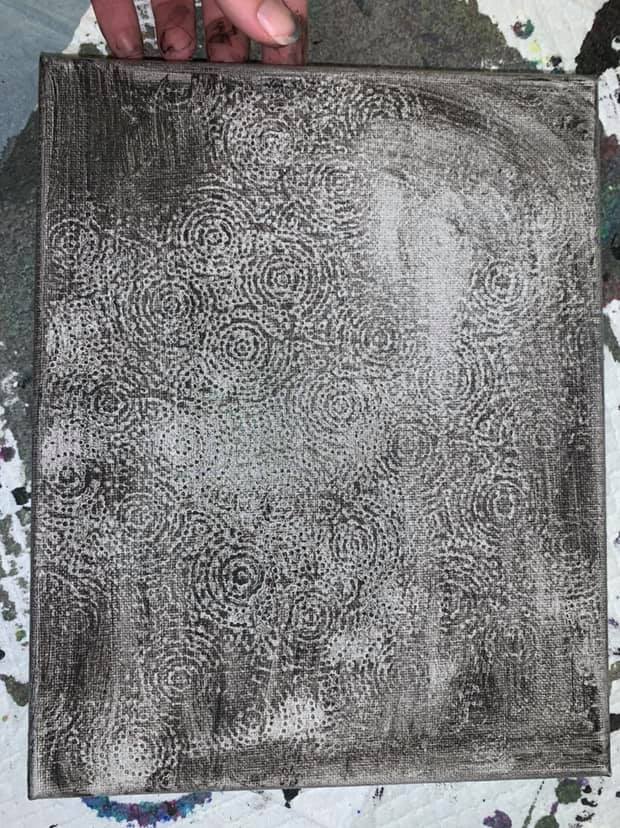
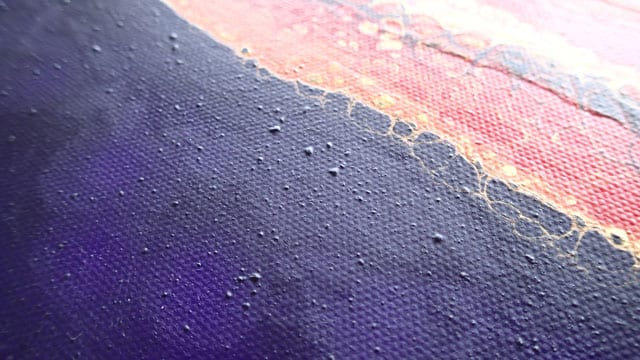
I loved this painting SO much when information technology was moisture and was so annoyed with myself when the negative space dried all full of lumps and bumps. I hadn't strained the pigment, and although it looked OK wet, one time the paint dried, it was covered in lumps like the painting had measles. In this video, I am going to endeavour to repair it.
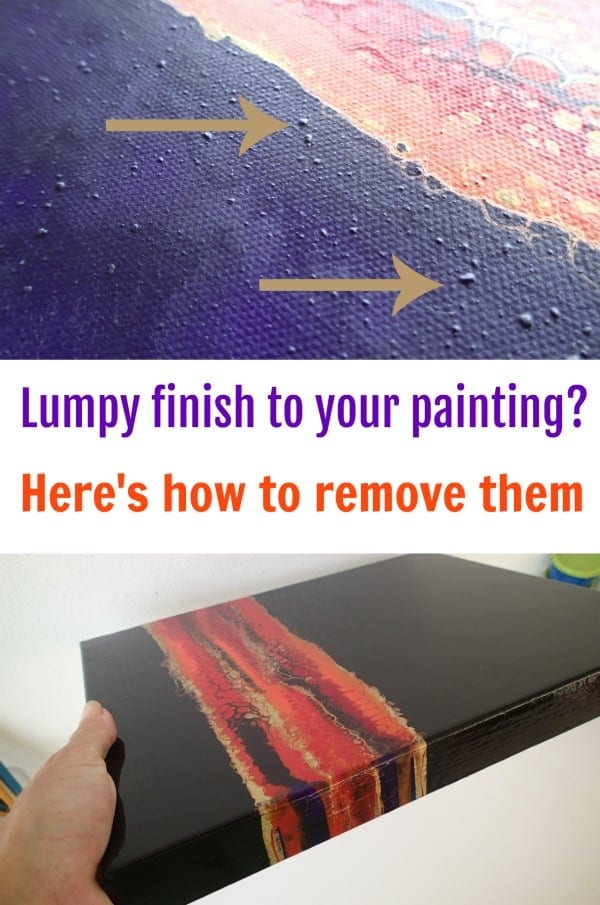
How to fix information technology? I am going to effort to sand downward the lumps and bumps and then repaint over the majestic with probably a black. Let's give information technology a try and see what happens!
Materials used in this project:
Old painting with lumps and bumps from this project
Wet or Dry sand newspaper(220 grit)
Cardboard support to prevent stretching
Black paint to cover the purple
Fine mesh mini strainer
8oz squeeze bottles
Polycrylic gloss protective cease
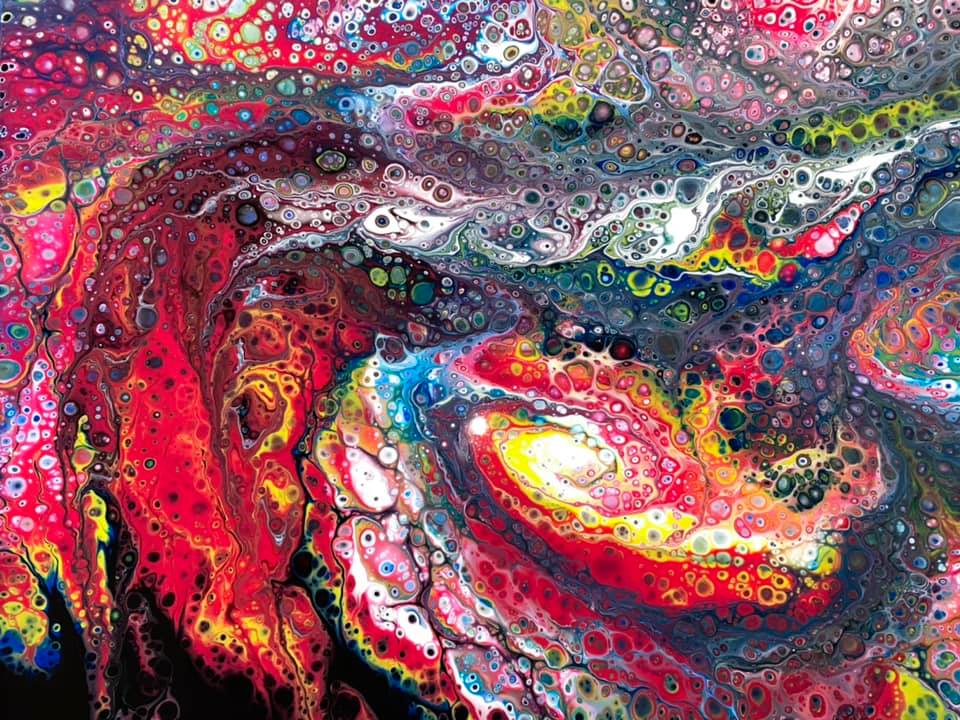
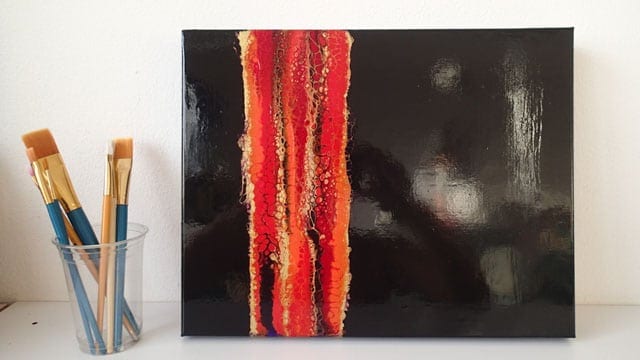
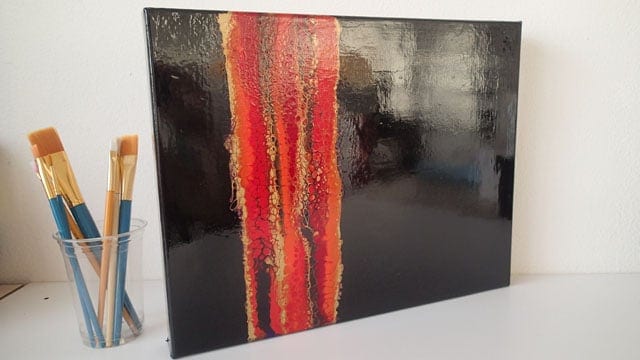
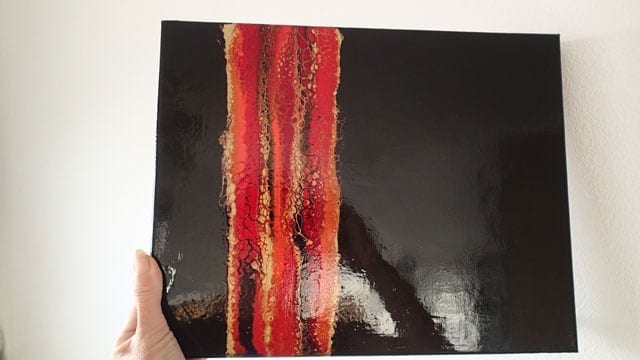
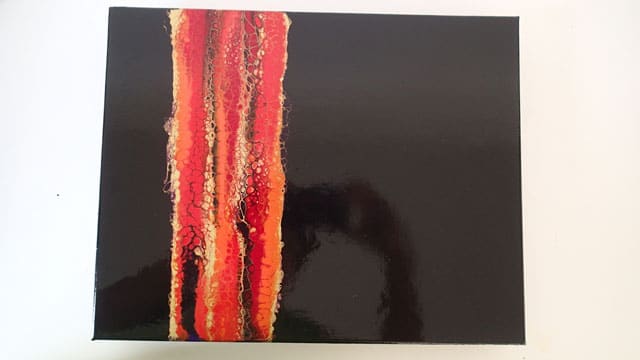
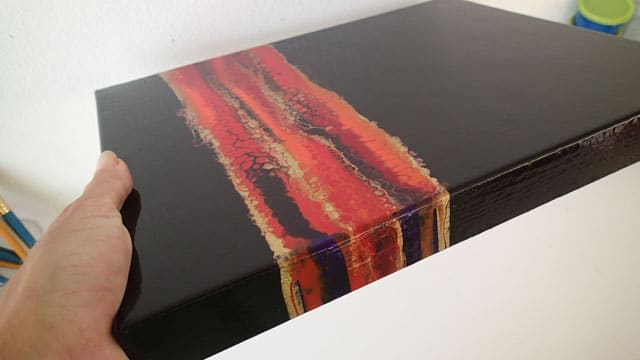
I'one thousand so happy! The painting is saved. In fact, it is now and then smooth and sleeky that the surface is similar a mirror and its really hard to get a photo of it, without seeing glare from the window or fifty-fifty my own reflection! It took a piffling flake of effort and quite a fleck of time, but in the end I probably like the painting more with the blackness than I did originally with the royal. So if something similar happens to y'all, know that you can sand downwards those lumps carefully, repaint, varnish and you lot are good to get!

I loved this painting SO much when it was moisture and was so annoyed with myself when the negative space dried all full of lumps and bumps. I hadn't strained the paint, and although it looked OK moisture, once the paint dried, it was covered in lumps like the painting had measles. In this video, I am going to try to repair it.
Firstly, why does this happen? Hmm, I actually tin can't say why some paints just are lumpier than others. I'one thousand non convinced that it'due south just about the mixing, considering I would have mixed the purple the same equally the other paints. I used the aforementioned ingredients, the same ratios etc – sometimes some paints are just more lumpy than others. Until at present, I've institute it with my white paint and usually will strain that, but I've never had it this bad in a color before. Lesson learned.

Click for Cost on Amazon
How to avoid it happening in time to come. Call up to strain the darned paints. I mix my paints in a small jug and then transfer them to the squeeze bottles, then I just need to recall to strain them through my new fine mesh strainer from the jug into the bottle. And then all volition be well. Information technology really doesn't add any fourth dimension and can save a lot of trouble afterward. I need to get into this good habit.
How to prepare information technology? I am going to attempt to sand down the lumps and bumps and then repaint over the purple with probably a blackness. Permit's give information technology a effort and encounter what happens!
Materials used in this project:
Quondam painting with lumps and bumps from this project
Wet or Dry sand paper(220 grit)
Cardboard support to prevent stretching
Black paint to embrace the purple
Fine mesh mini strainer
8oz squeeze bottles
Polycrylic gloss protective finish
I'chiliad so happy! The painting is saved. In fact, it is now and then polish and glossy that the surface is like a mirror and its actually difficult to get a photograph of it, without seeing glare from the window or fifty-fifty my ain reflection! It took a piddling bit of effort and quite a bit of time, but in the end I probably like the painting more with the black than I did originally with the purple. So if something similar happens to you, know that you can sand down those lumps carefully, repaint, varnish and you are good to get!
After beingness told in high schoolhouse that she was so bad at art that she should switch to another subject, Deby didn't paint once again for 35 years. Then a stroke released a new wave of creativity and she began exploring with dot painting, abstract and eventually acrylic pouring, and at last the joy of working with color returned.
You don't need 'talent' to exist an acrylic pouring artist – just enthusiasm, some basic teaching, and a willingness to attempt, fail and try again. Paint along with her and learn from her many mistakes, and y'all'll presently make great art together.

How To Fix My Acrylic Painting On Cavas It Has Small Bubblez,
Source: https://acrylicpouring.com/how-to-fix-lumpy-paint/
Posted by: potterrapen1954.blogspot.com
0 Response to "How To Fix My Acrylic Painting On Cavas It Has Small Bubblez"
Post a Comment